Maytag is a brand that speaks for itself. If you are wondering what could possibly happen if you switch to another brand then let me tell you that you won’t be able to experience the perks offered by Maytag appliances.
For starters, let us talk about the Maytag Centennial Washer. If you have a similar appliance of the same brand then you would come across a situation at least once in your life where you need to put it into a diagnostic mode. But do you really know how to? Don’t worry as I have specified this article for this purpose only. Stay with me to find out more!
Maytag Centennial Washer Diagnostic Mode
What is the need of a diagnostic mode, you may ask. Well, as the name suggests, this mode is used to troubleshoot the washer problems (if any). For this, it might show all the logged washer errors, perform an automatic diagnostic cycle and manually turn on and off various parts of the washer to ensure its proper operation.
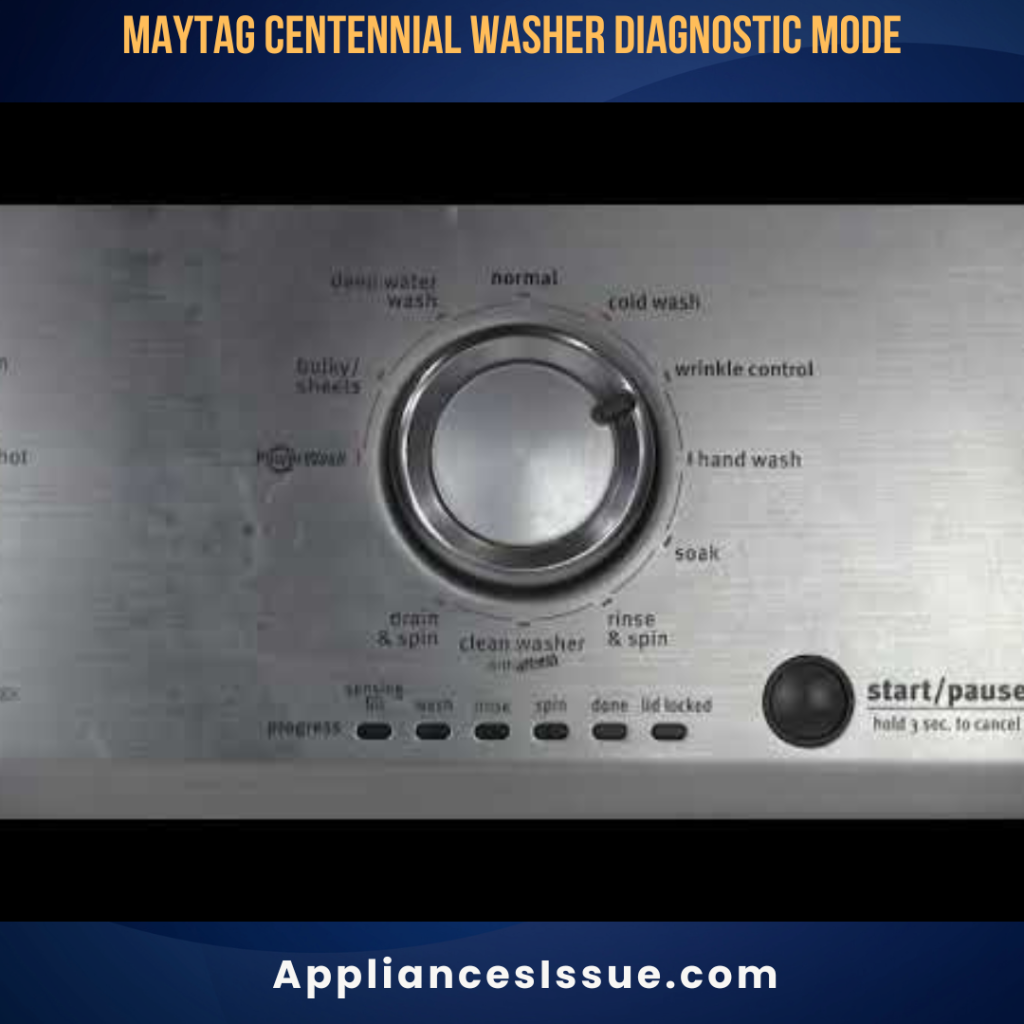
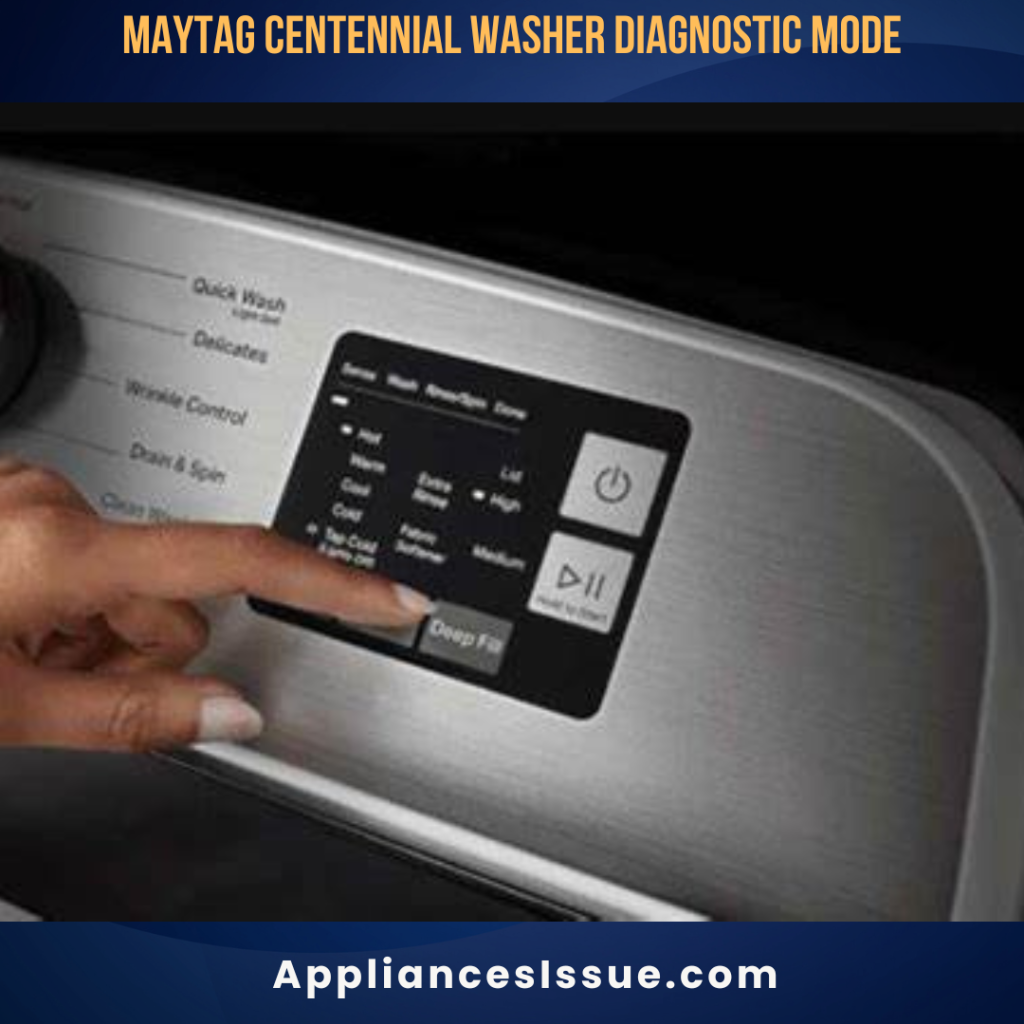
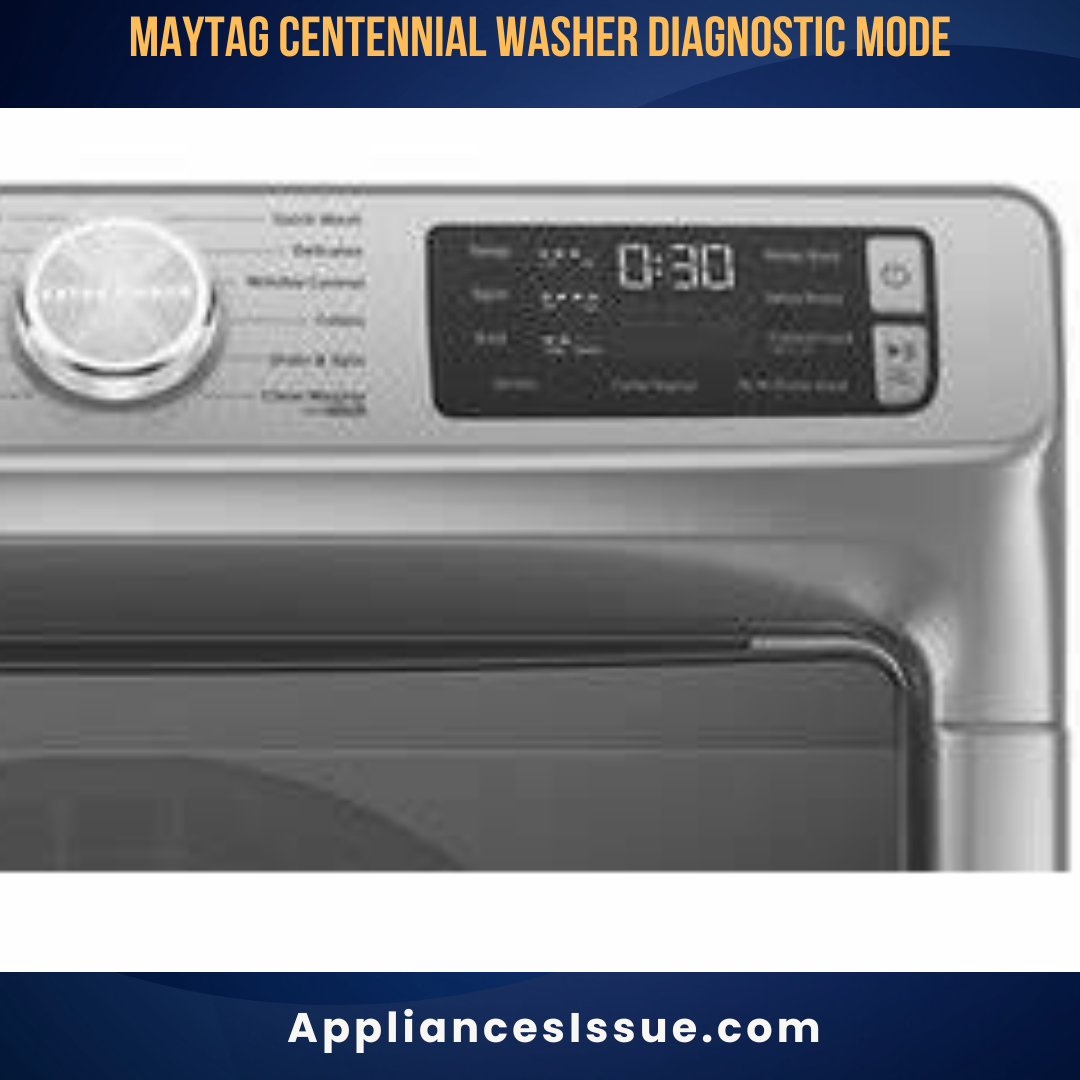
Modern versions of the washer come with a digital display but the older versions still use a sequence of status lights to inform users about the possible errors. It is the responsibility of the user to interpret the code by understanding the sequence.
The “Sensing” or “Fill” light along with “Soak” lights represent an “F” on the first part of code. While the second part of the code i.e. “E” will not use any of these three lights.
- “Wash Light” = 8
- “Rinse Light” = 4
- “Spin Light” = 2
- “Done Light” = 1
Interpreting the Code
So it might be a possibility for you to see “Sensing”, “Rinse”, “Spin” and “Done” lights sequence. How will you interpret this code?
- Sensing = F
- Rinse = 4
- Spin = 3
- Done = 1
- Total = 4 + 2 + 1 = 7 -> F7
- Sensing = E
- Done = 1
- Total = E1
So the code F7E1 will be in your mind after breaking the code into above mentioned pieces. However, this error code depicts a sensor fault so you need to check the washer sensor with the diagnostic test.

Also Check: Whirlpool Duet Washer Reset
How to Enter the Maytag Centennial Washer Diagnostic Mode?
Now comes the main part, entering the diagnostic mode of Maytag Centennial Washer. Follow the below mentioned steps in order to enter the Diagnostic Mode.
Steps to Follow
- Turn the control dial of the washer to the left (at least 3 full rotations).
- Now rotate the knob to the right (3 clicks).
- Again rotate the knob one click to the left and then one to the right.
- Keep the time duration restricted to half or one second between the clicks.
- After doing this, if all goes well then the lights on the washer console should light up and flash.
- If it doesn’t happen then it means you have done something wrong. Check the time duration again between each click.
- In case of success, you will come across 3 options; automatic diagnostic mode, manual diagnostics, view stored error codes. (It is best to start with the error codes).
- Rotate the knob to the right and the “Done” light should be lit.
- Press “Start”.
- The washer will start showing you the error codes.
- To advance with the error code, turn the knob to the right.
- In case the “Sensing” or “Fill” light is lit up then it means that the last fault code has been reached or there is nothing wrong with the washer.
- Write down all the witnessed codes and then exit the diagnostic mode.
How to Exit the Diagnostic Mode?
Steps to Follow
- Press and keep holding the “Start” button for almost 3 seconds.
- This is useful to erase the error codes from the washer’s memory.
Maytag Centennial Automatic Diagnostic Mode
To enter the Maytag Centennial Automatic Diagnostic Mode, you need to follow the below steps.
- Run the diagnostic mode again (turn the cycle knob to the right until the “Spin” light is lit).
- Press the “Start” button.
- The washer will start testing all the washer functions.
- You can go back to the error codes section to see possible faults.
This is the summary of Maytag Centennial washer’s automatic diagnostic test and what lights are lit for each step.
- Centennial washer lid should lock =”done” + “lock”
- Centennial washer cold valve should open =”spin” + “lock”
- Centennial washer hot valve should open =”spin” + “done” + “lock”
- Pause 5 seconds =”rinse” + “lock”
- Pause 5 seconds =”rinse” + “done” + “lock”
- Pause 5 seconds =”rinse” + “spin”+ “lock”
- Centennial washer cold and hot water valves should open =”rinse” + “spin”+ “done” +”lock”
- Centennial washer shifter should move to agitate position =”wash” + “lock”
- Centennial washer should agitate =”wash” + “done” + “lock”
- Centennial washer drain pump should run =”wash” + “spin” + “lock”
- Centennial washer shifter should move to spin position =”wash” + “spin” + “done” + “lock”
- Centennial washer should spin for 10 seconds =”wash” + “rinse” + “lock”
- Centennial washer should coast to a stop for 30 to 45 seconds =”wash” + “rinse” + “done” + “lock”
- Centennial washer lid lock should unlock in 1 second and not longer than 3 minutes=”wash” + “rinse” + “spin”

Also Check: Correct Washing Machine Drain Pipe Height
Frequently Asked Questions
Q – How do I reset my Maytag washer control board?
A – To reset your Maytag’s washer control board, you need to unplug the unit for about a minute and then plug it back. In case the washer is hard-wired, then you need to turn the breaker off for about 60 seconds and then turn the breaker back on.
Q – Is there a reset button present on the Maytag washer?
A – Unfortunately, there is no reset button present on the Maytag washer.
Concluding Thoughts:
In a nutshell, there is nothing wrong in knowing about the working and operation of your washer. In fact, it is a good thing since it will protect you from paying unnecessary money to the technicians and electricians. It is highly encouraged that you make yourself familiar with these basic procedures because they will save you from future inconveniences.

Jennifer is a seasoned writer and editor who plays a crucial role in our team. Growing up in an environment where appliance repairs were a common sight, she developed a genuine passion for DIY appliance troubleshooting.
Jennifer’s knowledge encompasses a variety of appliances, and she excels at demystifying complex issues. Whether it’s refrigerators, air conditioners, or microwaves, she’s dedicated to providing clear, actionable solutions.
Jennifer keeps a vigilant eye on emerging DIY trends, always eager to share innovative techniques with our readers. Her mission is to inspire individuals, especially women, to embrace appliance troubleshooting as an achievable skill.

